
At Christmas time I love to bake with my mum. Filling the kitchen with all smells that scream the Christmas Season from the smells of cinnamon to dried orange.
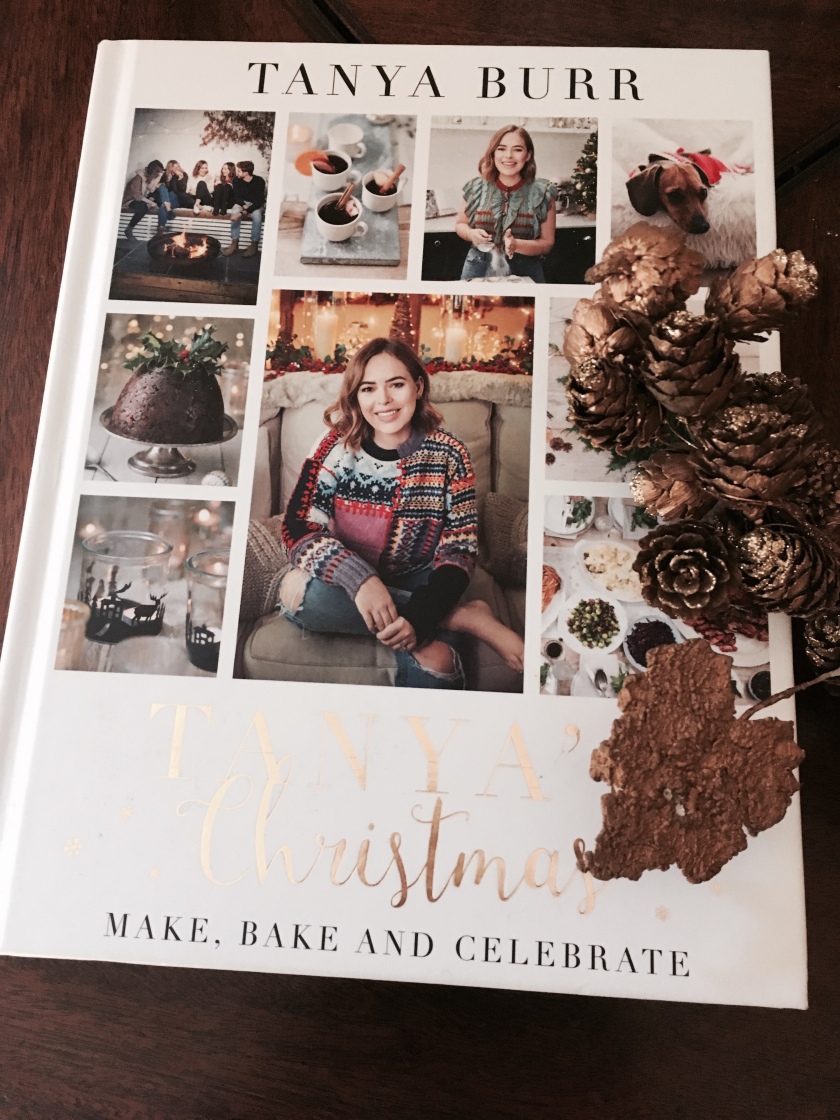
This year I tried out a new recipe from Tanya Burr’s new book TANYA’S Christmas. I loved how these scones turned out, however I put my own twist on the recipe so I thought I would share it with you.

Makes 12 Small Scones/ 8 Big Scones if you would like quite big scones you will need 5cm round pastry cutter Cooking Time 15 Minutes
Ingredients
250g self-raising flour ,plus extra for dusting
1tsp baking powder
1 tsp ground cinnamon
1/4 tsp grated nutmeg
lemon zest or orange zest
40g unsalted butter softened
30g golden caster sugar
1 large egg, lightly beaten
125ml milk, plus extra for brushing
For the glaze:
3-4 tbsp lemon juice
150g icing sugar , sifted
Method
- Preheat the oven to 200*C / 400 F / Gas Mark 6. Then line a baking tray with baking paper.
- Combine the flour, baking powder,spices and lemon or orange zest in a bowl. Add the butter, using your fingertips work the butter into the flour until the mixture has a crumbly texture. Then stir in the sugar.
- Add the lightly beaten egg into the flour mixture then add the milk; little by little not all at once. You might not need to add all the milk. You just need enough for your dough to be soft and sticky.
- Dust your work surface with a little bit of flour. Put the dough out onto the floured surface. Using your hands pat it into a nice flat disc shape. Roll it gentle a few times to flattered it to a thickness of 2-3 cm.
- Using your pastry cutter; cut out your circles and place them on the baking tray. Repeat this making sure when you need to bring the dough back together you knead it lightly, before patting it into a disc to cut out more circles.
- Brush the tops of each scone with milk and pop into the oven for about 10-12 minutes or until the tops of the scones are golden.
- Whilst the scones bake, prepare the glaze by stirring the lemon juice into the icing sugar a little at a time until you have a smooth runny mixture. You could add lemon or orange zest into the glaze.
- Remove the scones from the oven and transfer to a wire rack to cool completely . Pour the smooth runny glaze over the tops and allow them to set. You could just enjoy them whilst the glaze just put on them.
- Enjoy!